
Did you know that nearly 30% of tattoo healing issues stem from improper product application during the first critical days? That stunning statistic highlights why getting the right amount matters so much for your body art.
Congratulations on your fresh ink! You’ve made an exciting investment in personal expression. Now comes the important part: ensuring your design heals perfectly. Proper tattoo aftercare protects your skin and preserves the artwork’s vibrant clarity for years to come.
While artists worldwide have different opinions on healing methods, many consistently recommend one particular ointment for fresh tattoos. This guide will walk you through the entire process, from initial application to transitioning to other products.
Caring for your new tattoo doesn’t need to be complicated. It does require consistency and attention to detail during those first few weeks. You’ll learn not just about proper application techniques, but also how to avoid common mistakes that can compromise your ink.
Key Takeaways
- The right amount of ointment creates a thin, protective layer without suffocating the skin
- Consistent care during the first two weeks is crucial for optimal healing
- Proper application prevents ink fading and maintains design clarity
- Transition timing to lighter moisturizers depends on your skin’s healing progress
- Avoid over-application to prevent clogged pores and slow recovery
- Listen to your body and watch for signs of proper healing
- Different skin types may require slight adjustments in care routines
Preparing for Your New Tattoo
Understanding what happens during and immediately after your tattoo session is crucial for successful aftercare. This knowledge helps you recognize normal healing signs and respond appropriately.
What to Expect During the Tattoo Process
Your skilled tattoo artist uses sterile needles to deposit ink into your skin’s dermis layer. This creates permanent artwork but also causes temporary trauma to the area.
After completion, expect some redness, swelling, and soreness around the fresh design. These reactions are completely normal and vary based on the piece’s size and location.
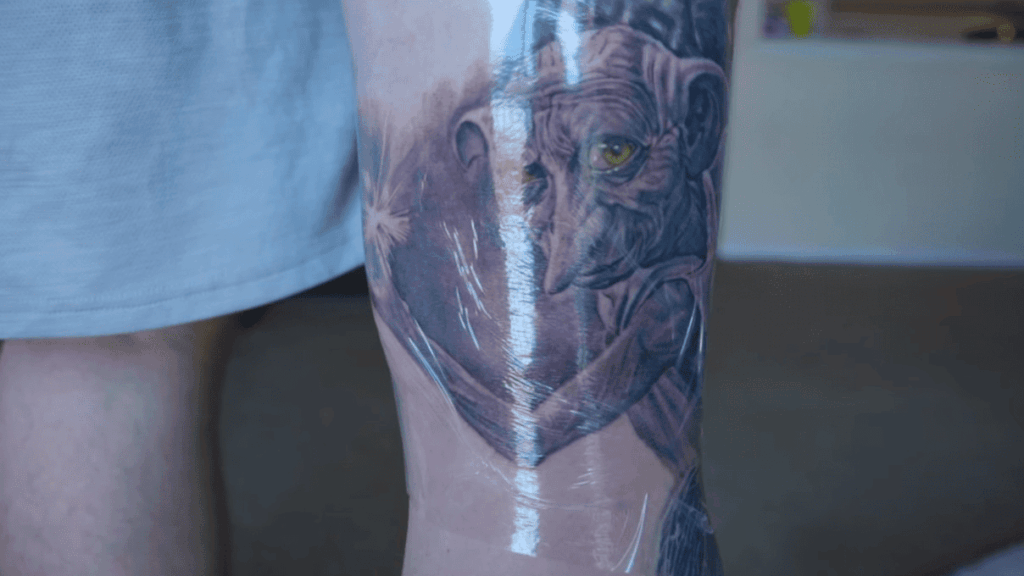
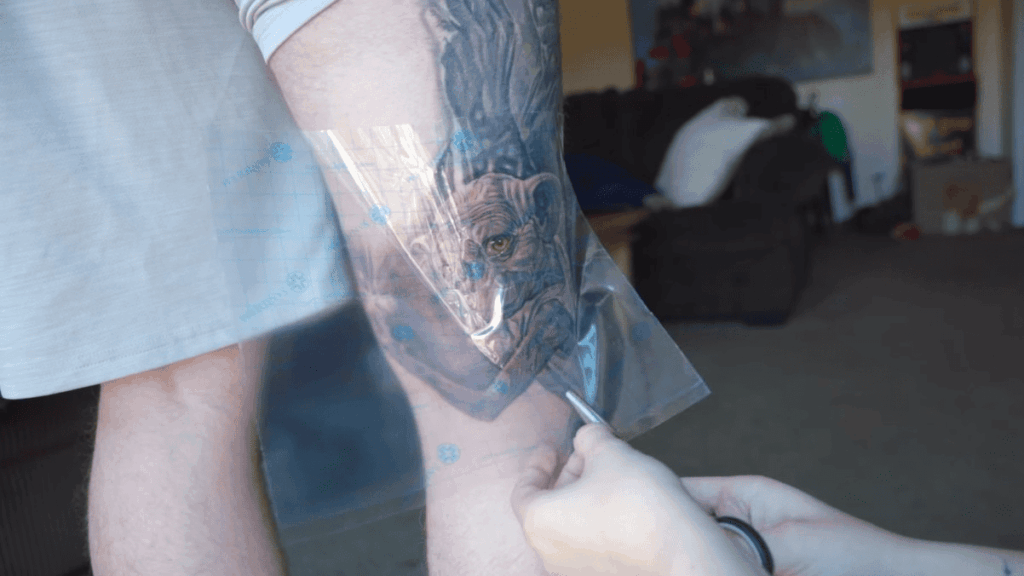
Your professional will clean the area thoroughly before applying a protective covering. This initial bandage, typically cling film or specialized adhesive wrap, stays on for 2-3 hours. This time period is critical as your skin begins intensive healing work.
| Normal Healing Signs | Concerning Symptoms | Recommended Action |
|---|---|---|
| Mild redness and swelling | Severe, spreading redness | Contact your artist |
| Minor soreness | Intense, worsening pain | Seek medical advice |
| Clear fluid oozing | Yellow/green pus | Immediate medical attention |
| Light flaking or scabbing | Thick, cracked scabs | Consult your tattoo professional |
Always listen carefully to your artist’s specific aftercare instructions. They understand your particular design’s needs based on technique, placement, and size. Don’t hesitate to ask questions before leaving the studio—confidence in your care routine leads to better healing results.
Understanding Aquaphor and Its Healing Benefits
What makes one ointment more effective than others for tattoo healing comes down to its ingredient composition. This multi-purpose healing balm has earned trust among artists for its balanced formula.
Key Ingredients That Promote Healing
The product’s foundation contains 41% petroleum jelly. This refined oil creates a breathable shield that blocks bacteria while retaining essential moisture.
Panthenol, derived from B-complex vitamins, offers anti-inflammatory properties. It actively supports skin regeneration during the critical healing phase.
Glycerin works as a humectant, drawing moisture into the skin without clogging pores. Bisabolol, from chamomile, provides additional soothing properties.
How Aquaphor Creates a Protective Moisture Barrier
These components work together to form an ideal environment for recovery. The barrier protects against external irritants while allowing some air circulation.
Unlike pure petroleum jelly, this formulation balances protection with breathability. This combination makes it particularly effective for fresh body art care.
The synergistic effect of these ingredients maintains optimal hydration levels. Your skin can regenerate efficiently while the design remains vibrant.
The Tattoo Healing Process and Aftercare Essentials
Fresh ink triggers a fascinating biological response that unfolds over several weeks. Understanding this natural progression helps you provide optimal care for your body art.
Your skin treats the tattooing process as a controlled injury. It immediately activates defense mechanisms to protect and repair the area.
Stages of Tattoo Healing
The complete healing journey typically spans three to four weeks. Each phase has distinct characteristics that signal proper recovery.
| Time Frame | Healing Stage | Key Characteristics |
|---|---|---|
| First 24 Hours | Inflammatory Response | Redness, swelling, minor oozing |
| Days 2-7 | Repair Phase | White blood cell activity, tissue regeneration |
| Weeks 2-3 | Scabbing & Peeling | Dry skin formation, light flaking |
| Week 4+ | Final Healing | Smooth texture, vibrant color reveal |
This timeline can vary based on design size and your individual healing factors. Larger pieces may need additional recovery time.
Common Aftercare Challenges
Excessive scabbing often results from insufficient moisture. Dryness causes thick crusts that can pull ink from the skin.
The itching phase tests everyone’s patience. Resist scratching or picking at flaking skin to preserve your artwork’s clarity.
Maintaining balanced moisture levels prevents these issues. Proper hydration supports smooth regeneration without suffocating the skin.
How Much Aquaphor to Put On Tattoo?
Getting the right quantity of healing balm for your fresh body art is more art than science. The perfect application creates a protective shield without overwhelming your skin’s natural recovery process.
Determining the Perfect Thin Layer
A thin, even coating is the golden rule for successful aftercare. You should see your design clearly through the protective ointment, not obscured by thick product buildup.
This ideal consistency creates a slight sheen across the tattooed area. It provides essential moisture and protection without suffocating your skin’s natural healing abilities.
Avoid the common mistake of applying too much product. Excessive layering prevents proper air circulation and may trap unwanted moisture or bacteria.
- Use a rice grain to pea-sized amount for small to medium designs
- Adjust proportionally for larger body art pieces
- Reapply when existing ointment feels absorbed or low
- Typically apply 2-3 times daily during initial healing
While using this healing balm is beneficial, overuse can interfere with recovery. It may lead to prolonged scabbing or other complications.
When uncertain about the right amount for your specific piece, consult your tattoo professional. Individual recommendations may vary based on design complexity and skin type.
Step-by-Step Guide to Applying Aquaphor on Your Tattoo
The initial hours after removing your protective covering set the stage for successful healing. Proper technique during this critical period prevents complications and preserves your artwork’s quality.
Proper Cleaning and Drying Techniques
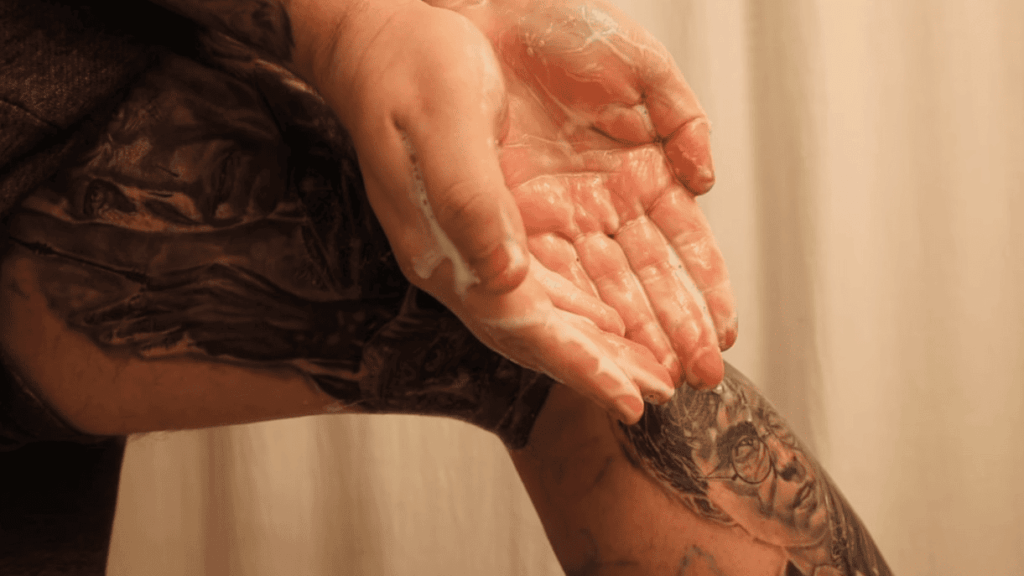
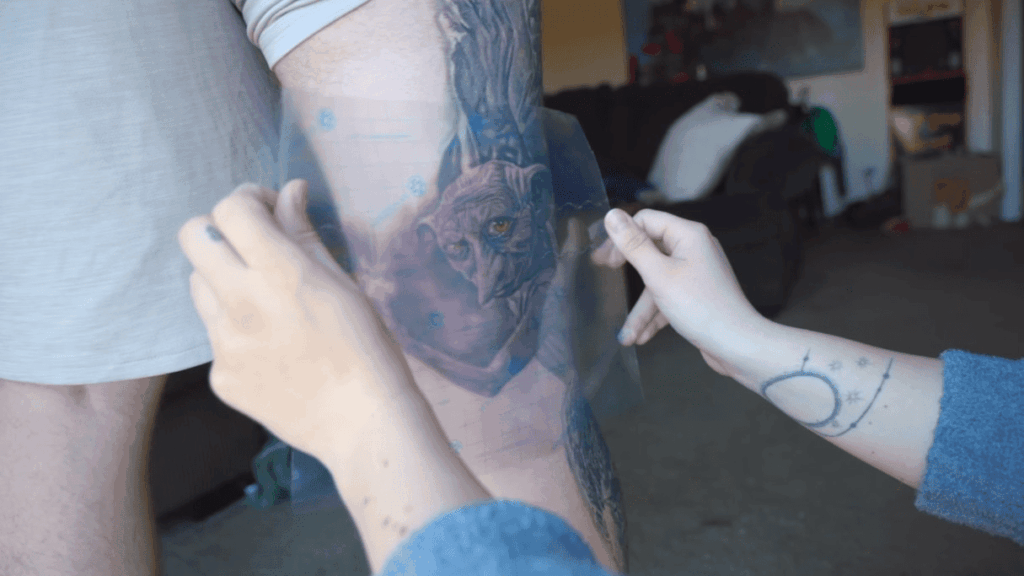
Begin by carefully removing the initial bandage after 2-3 hours. Avoid pulling or tugging on the sensitive area. Gently wash your design with lukewarm water and unscented soap.
This cleansing removes excess ink, blood, and plasma that naturally weep from fresh body art. Use gentle motions—no scrubbing or harsh rubbing. Your tattoo requires delicate care like any open wound.
Pat the area dry with a clean paper towel. Never rub the sensitive skin. Complete drying prevents bacterial growth and prepares the surface for product application.
Effective Application Methods
Use clean hands to take a small amount of healing ointment. Warm it slightly between your fingertips before spreading over the entire design.
Apply using gentle circular motions to distribute the product evenly. Ensure complete coverage while maintaining that important thin layer. The goal is protection without suffocation.
Repeat this washing-drying-applying cycle 2-3 times daily. Be consistent after showering or activities causing sweating. This routine forms the foundation of successful aftercare.
Keeping bacteria out through proper cleaning is just as important as retaining moisture. Follow your artist’s specific guidance for several days to create the ideal healing environment.
Avoiding Overuse: Tips to Prevent Fading and Infection
There’s a common misconception in the tattoo community that certain healing products can lead to ink loss. This myth often causes unnecessary worry among those caring for fresh body art.
When your design is properly executed with pigment correctly placed, quality ointment supports healing without affecting vibrancy. Fading typically stems from application issues rather than the products themselves.
Comparing Aquaphor with Other Ointments
Overapplication creates problems regardless of which product you choose. Excessive layers prevent air circulation and may trap unwanted moisture.
Watch for these signs of overuse:
- Prolonged wetness on the skin surface
- Excessive shininess that doesn’t absorb
- A feeling of suffocation around the artwork
These symptoms can slow recovery and increase infection risks. The goal is balanced protection that moisturizes while allowing breathing room.
Many people prefer natural alternatives like plant-based balms or CBD-infused options. These products offer gentle healing with botanical ingredients.
A critical difference exists between Aquaphor and plain petroleum jelly. While both provide moisture, Vaseline creates a complete seal without breathability. This can trap bacteria and hinder proper recovery.
Your choice depends on personal preference and skin sensitivity. Regardless of product selection, thin, consistent applications provide optimal protection for healing tattoos.
Transitioning from Ointment to Lotion
The transition from intensive ointment care to gentle lotion application represents your body art’s progression toward complete healing. This shift typically occurs after several days to about two weeks, depending on your individual recovery pace.
Understanding the difference between these products helps you make the right choice. Ointments create a protective barrier with their oil base, while lotions offer lighter hydration through water-based formulas.
Signs Your Tattoo Is Ready for a Switch
Watch for specific indicators that signal it’s time for the change. Heavy scabbing should have resolved, and deeper wounds must be closed. You’ll mainly notice dry skin or light peeling at this stage.
The healing process enters its final phase when these signs appear. Continuing with ointment isn’t harmful, but switching provides better breathability.
| Ointment Phase | Transition Signs | Lotion Phase |
|---|---|---|
| Intensive protection | Scabbing resolved | Light hydration |
| Oil-based formula | Dry skin appears | Water-based formula |
| 2-3 daily applications | Itching begins | 2-4 daily applications |
Choose unscented lotion to avoid alcohol-based ingredients that can irritate sensitive skin. Apply a thin layer multiple times daily to maintain proper moisture levels during this important time.
Even after switching products, your design continues healing internally. Consistent care ensures vibrant, long-lasting results.
Additional Tips for Long-Term Tattoo Aftercare
Long-term tattoo preservation requires consistent care habits that extend well beyond the initial healing phase. Your commitment to proper skin protection ensures your body art remains vibrant for years to come.
Maintaining Moisture and Skin Protection
Proper tattoo aftercare involves several essential “don’ts” during the healing process. Never scrub, scratch, or pick at your healing design. These actions can damage the artwork and lead to permanent scarring.
Avoid water submersion for at least two weeks. This means no swimming pools, baths, or hot tubs. Prolonged moisture exposure can compromise your skin’s recovery.
Sun protection becomes critical for long-term tattoo care. UV radiation breaks down tattoo pigments and causes fading over time. Keep new tattoos out of direct sunlight for 2-3 weeks during initial healing.
Once healed, always apply SPF protection when heading outside. Quality aftercare products designed specifically for tattoos provide ongoing protection. They help maintain color vibrancy and prevent premature fading.
For particularly itchy or scabby areas, try a warm compress technique. Use damp paper towels applied gently for a few minutes. Be careful not to oversoak the skin during this soothing process.
Maintaining proper skin hydration even after complete healing helps preserve your tattoo’s appearance. Incorporate daily moisturizing into your regular skincare routine. This lifelong habit ensures your body art remains beautiful indefinitely.
Conclusion
Your journey with body art extends far beyond the tattoo chair. The key question of proper ointment application comes down to a thin, even layer that protects without suffocating your healing skin.
Successful aftercare combines consistent cleaning with gentle moisturizing. This process guards against bacteria during those critical first hours. Remember that tattoo healing unfolds over several weeks, requiring different levels of attention at each stage.
People around the world may have varying opinions, but the fundamentals remain universal. Proper protection and moisture balance are essential for vibrant results. Your investment in quality care ensures beautiful ink for years to come.
With the right approach and consistent attention, anyone can achieve excellent healing outcomes. Your dedication to proper aftercare will be rewarded with lasting, beautiful body art.